Welcome to the first post for my new blog! I actually didn’t expect this to happen so soon but I was inspired to do something when I had a case of writer’s block while I was meant to be working on my thesis one day last week. I had my wisdom teeth out a week ago and the combination of swollen face and painkillers wasn’t great for my productivity. Whoops <_< I often have this problem – making things is dangerously satisfying.
So, I got out my mannequin and worked through cutting out and testing four patterns I’ve been wanting to use for a while in order to work through my absurd fabric stash; a range of things from the 40s and 50s.
Late 1940s coat and dress
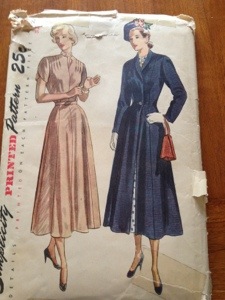
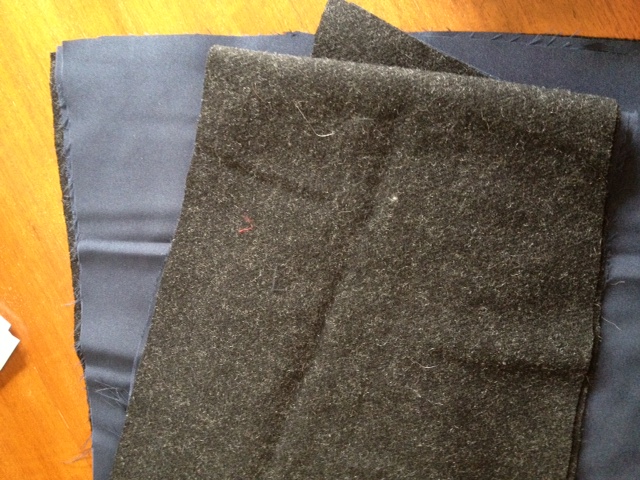
This was an Etsy buy; I wanted a fitted coat that would be winter-weight for Perth and spring/autumn-weight for Tassie. I also fitted up the dress because I have plans to wear it to my godson’s Christening at the end of next month. The coat is a lightweight charcoal marle of middling quality that burn-tested like wool but I’m fairly sure it’s a wool-blend. I’ve had the fabric for about 5 years and have no idea where I bought it from. The lining is a nylon with a nice, crisp hand. I’ve pre-washed them both to avoid shrinkage drama later, and recommend that you always do the same (I generally wash everything before I add it to my stash to save time when inspiration hits).
The pattern doesn’t fit me well because I bought it according to my bust measurement. I’m a little more curvy than the typical mid-century woman – the standard bust measurement that would correspond to my 25″ (1950s size 12/modern 8) waist would be about 32″, and my bust measurement is 36″ (1950s size 16/modern 12). If you’re lucky enough to fit a pattern straight-up then that’s awesome! But it’s absolutely not the end of the world if you don’t, and I think that “common sizing” actually fits a very small number of people. Just make sure you check the measurements on the envelope. I always buy to my biggest (bust or hip) measurement and then take it in where necessary.
Don’t feel bad about not being a “normal” size; wearing well-fitting clothes will always make you look and feel better than being a specific size. Just fit your clothes properly, people used to do it for a reason.
So, I somewhat foolishly forgot to take photos of fitting the coat. Bugger, sorry about that. I’m prepared to blame it on the painkillers! As it turned out the pattern for the coat was quite large! I had to take it in pretty severely, even at the bust. Not to worry, a dressmaker’s mannequin is worth its weight in gold if you like to sew and aren’t a typical size. If you can’t afford one and don’t have one to borrow then pre-cut the pattern and find someone who will take it in while you’re wearing it. Get together with a friend and practice tailoring something on each other! Remember not to make it too tight – it should have the same amount of room in it as you will need once it’s made up.
*Alternatively, you can have someone make a toile for you. A toile is a pattern of your body, and is the first thing a tailor will fit to you if you have something custom-made. It’s ususally made of calico but using distinctive scrap fabric made from natural fibre like cotton or linen will make it harder to lose (trust me!) You can then pre-cut the too-big pattern and lay your toile pieces over the pattern pieces, matching the critical shoulder points and waistline, etc. Then trim the pattern pieces down accordingly, remembering to leave enough room for comfort and seam allowance. Pin your shaped pieces together and try it on (inside-out) to make sure you’re happy with the fit. Tweak as necessary.*
So, after the coat I patterned the dress. Strangely, the dress was a much better fit than the coat though I can’t account for why since they came from the same envelope. I butchered an old, poorly-made and much too large 16th century Florentine gown of lightweight teal silk for this dress. It’s lovely fabric and it was wasted on the old costume. The skirt had about 6m of silk in it, and I only used about 4 in the end, so I’ll probably be able to make a nice blouse or line a jacket from the remnant at some point.
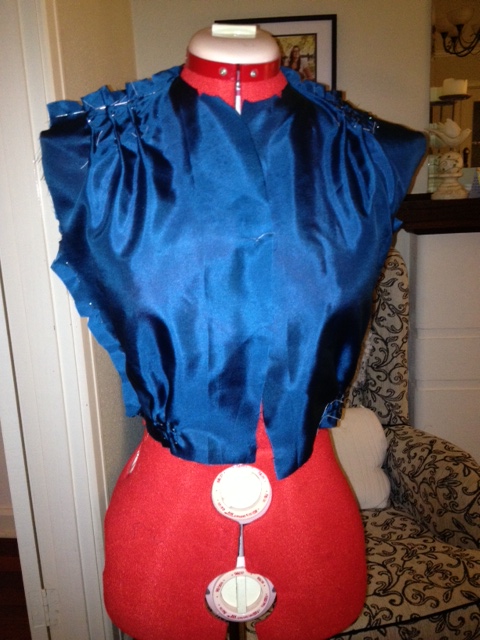
I marked all of the tucks with a stitch using a needle and thread when I cut the pattern out. You can mark with chalk if you prefer but I like to use thread because it doesn’t rub off when you’re handling the fabric, and it works on fabrics with nap and patterns, too, I pinned all of the tucks before I put the pieces together. Here’s the front:
And here’s the back:
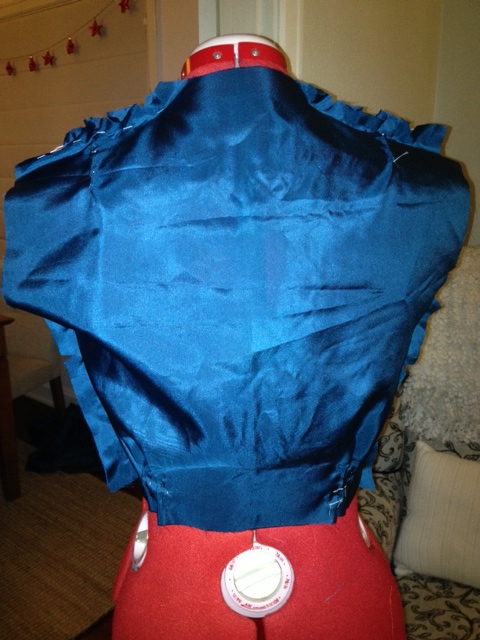
I’m happy that the bottom of the bodice sits on my natural waistline and I love the soft bloused effect that the very lightweight silk gives. It’s going to be so comfortable for the Christening in warm and humid Brisbane! Because the bodice fits well with minimal adjustment (you can see I took it in only a little at the waist), I haven’t worried about fitting the skirt pieces. I’ll just check everything matches when I’m sewing it up.
Mid-1950s suit.
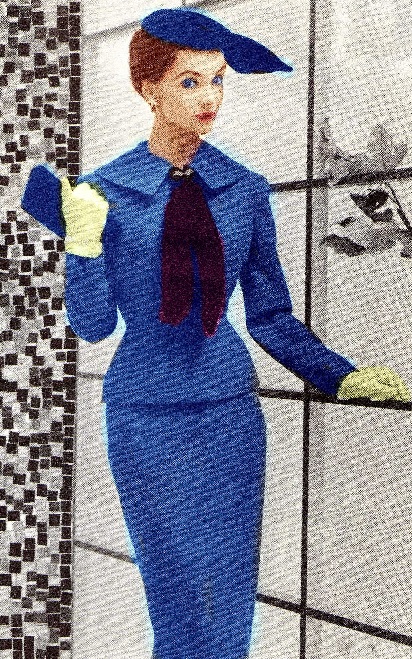
This is a pattern I also bought from Etsy, but as a .pdf. You’re meant to scale the pattern up using a measuring tape but the first time I tried it at the start of the year it was a disaster. If I didn’t like the look of it so much I’d have given up AGES ago. I scaled up the pieces according to my measurements and it just came out way too small. Even with plenty of seam allowance I could barely pin it in the mannequin so I decided to give up and I’ve only just gotten over my irritation enough to give it another go.
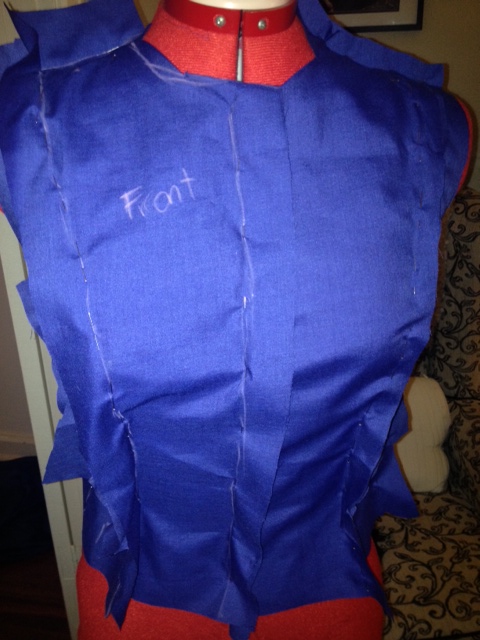
I got my scaled-up pieces and traced them onto some fresh fabric with about 2 1/2″ of allowance. Then I cut them out and pinned them on to my mannequin, shuffled them, took them in all over, unpinned, repinned and eventually was as happy as I could be with it. Note that I’m only keeping the panels with labels on them and seams marked – I’ll duplicate the pieces when I cut them out. Here’s the result.
Front:
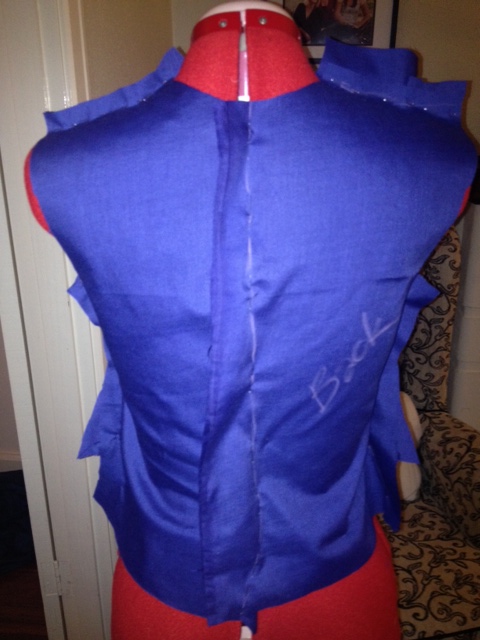
Back:
Side:
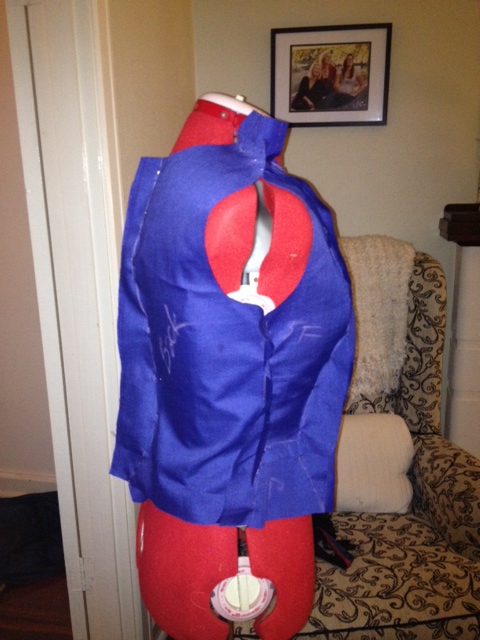
As you can see, it’s still not great. I’ve since decided that the pattern is absolute crap and I’m going to redraft it to my satisfaction using completely different pieces. To give that real curved shape to the bodice below the waist the jacket really needs gores/godets. It’s a crap pattern. Crap. Grrr. Re-patterning to follow.
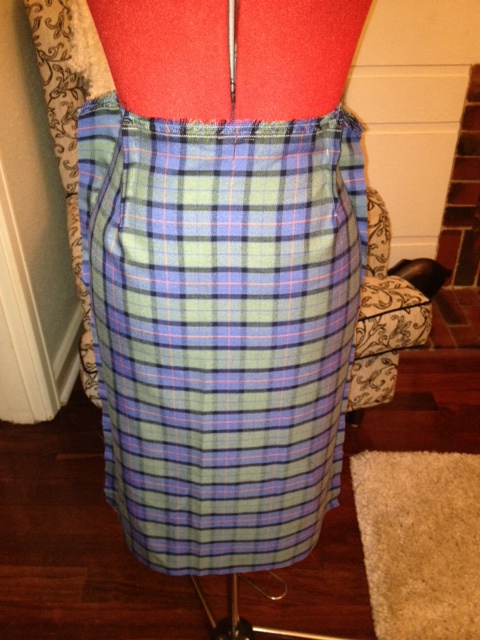
Late 1950s pencil skirt and bonus cropped box jacket (MADE FROM 1m OF FABRIC!!!)
Okay, I think I’ve saved the best for last because I’m SO impressed that I manage to squeeze a jacket out of such a small amount of fabric as well as the pencil skirt I’d originally planned. I got the idea from seeing a 50s pattern for a “1yd skirt”, i.e. a slim-fitting skirt made from a single yard of fabric. Because my fabric was reasonably wide (50″) I managed to squeeze a cropped box jacket from what was left over by piecing the sleeves very carefully. WINNAH!
I’m going to make a separate post on “How to fit a pencil skirt”. It’s really easy and everyone should do it – buying a pencil skirt from the shop is bloody impossible for almost everyone as they depend so much on not just the circumference of your waist and hips, but their respective ratios and the distance between them, too. My hip measurement is taken very low because I have a bottom that is widest at my thighs, but the hips of a 12-year-old boy. However, when you pattern your own it doesn’t even matter one bit.
Here’s the finished skirt:
Unfortunately I don’t have the picture of the jacket with me, but I will include them in a supplementary post. This one has been a few days in the writing and I want to get it off my list of distractions!
I really hope you’ve enjoyed this post. If you have any questions at all please feel free to leave a comment or send a message. I’d love to answer them.
~R xx
