Hi there, ladies (and maybe gents?)!
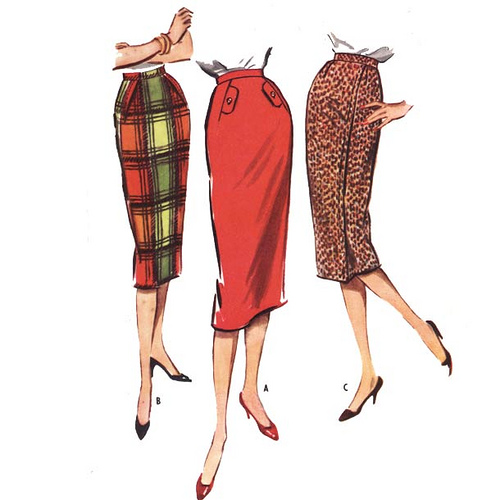
I promised a how-to following my previous post to outline the process in fitting a perfect pencil skirt, so here it is for your lovely selves. I apologise in advance for using Imperial measurements; despite living in Australia and doing Honours in the Sciences I do honestly find inches easier to deal with in respect to sewing.
Things you will need:
- Measuring tape;
- Dressmaker’s mannequin and/or a good friend who doesn’t mind seeing you in your knickers, bribed with the appropriate quantity of treats and surprises;
- Tailor’s pins;
- Fabric shears;
- 1m of suiting fabric (I’ve used a medium-weight wool blend in a greenish plaid; I love plaid) OR scrap fabric if you’d rather have a pattern to keep.
*N.B. To make up the finished skirt you’ll also need 1m of lining fabric, some sturdy interfacing and/or buckram/horsehair/canvas (optional), one zip as long as the measurement between your natural waist and widest part of your hips (go bigger rather than smaller), one button. I will include this list and the method for making the skirt in a subsequent post, but I’d rather not force you to make two trips to the store!*
STEP 1: Put on any structural underwear you’d plan on wearing with the skirt and take your measurements. ALL the measurements. *You can ignore this if you’re having a friend fit the skirt on you directly, but I really recommend keeping a note of your key measurements for your records.* It’s very handy to have someone else take these for you, as they’ll be more accurate and you’re less likely to strain something. There are many websites that list the kind of measurements you need if you’re not sure; just search for “dressmaking measurements” or similar. Adjust your mannequin to the correct size.
STEP 2: Fold your fabric in half and pin/press along the fold. This fold will mark the centre-front of your skirt, so make sure it’s in attractive part of the fabric, lining up any patterns.
STEP 3: Calculate the width of your front panel according to the following formula:
(0.5*widest hip measurement)+1
e.g. for myself: (0.5*37)+1 = 19½”
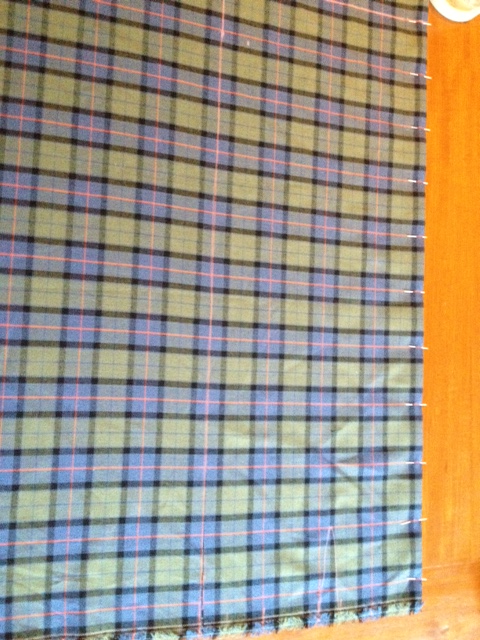
The +1 gives you your seam allowance. Mark a straight line on your fabric parallel to the fold. I’m afraid the plaid makes it a bit hard to see, as my line actually measured right along the 4th red line from the centre (handy for me, not so much for you. Sorry!). Halfway between the fold and your line mark a small V-shaped dart, then mark the dart in the same place on the other side. Cut along your marked line.
STEP 4: Pin your remaining fabric together along the selvage (waist) edge. Again, mark a line the same distance from your long edge as you calculated earlier. Mark another dart on both pieces of fabric. Cut along your marked line.

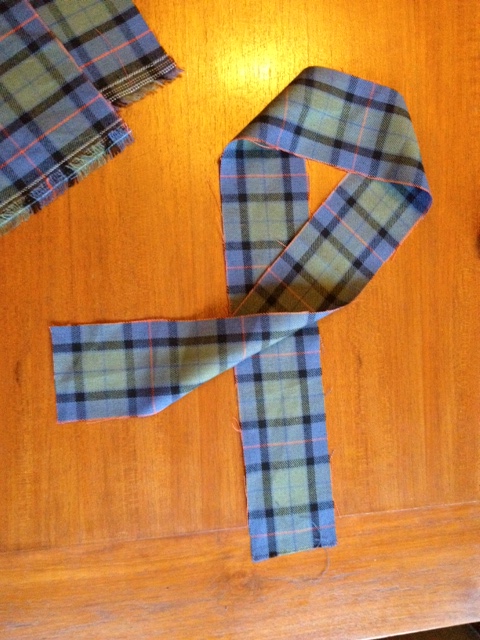
STEP 5: Cut a 3″ strip of your fabric to your waist measurement + 3″. This will become the 1″ wide waistband for your skirt. If you want a thicker waistband then cut your strip a bit wider.
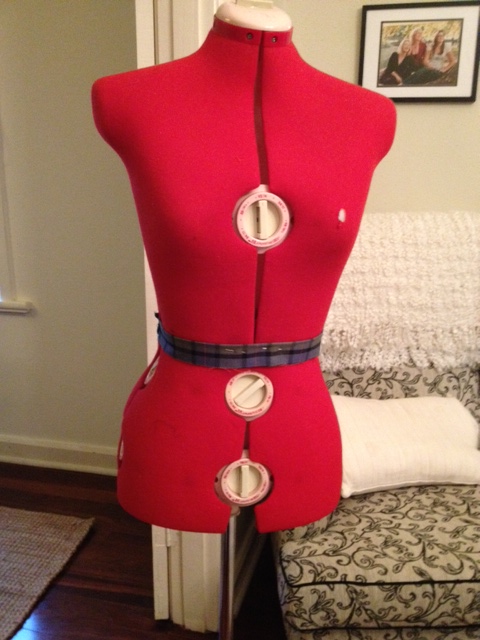
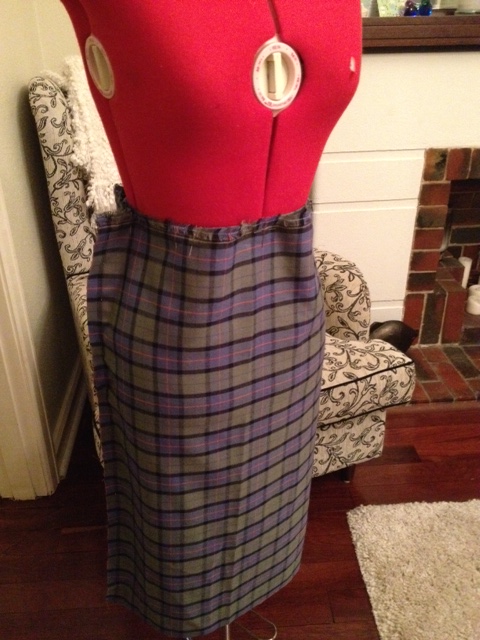
STEP 7: Celebrate! You’re halfway there – marking and cutting is always half the battle. Fold the strip in half lengthwise and pin it around your/your mannequin’s natural waist, making sure it’s level.
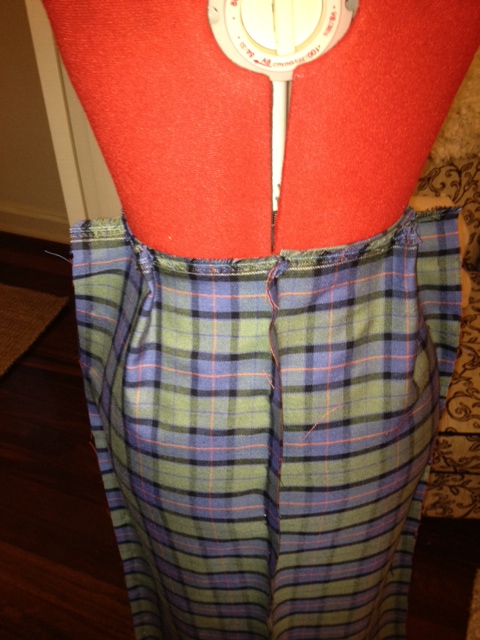
STEP 8: Pin the backs to the font at the side seams – you now have a long rectangle made of 3 pieces of fabric. Find the centre of the front and pin it to the waistband. Pull the fabric around the mannequin and pin the back seam leaving a ½” allowance again, then pin the back seam to the centre-back of the waist band. Pin the side seams to the side of the mannequin, half way between the front and back. (*See where we’re going with this? You want the pieces spaced evenly around the body with everything pinned so it hangs straight, just as if you were wearing it.*). Re-pin the side and back seams to take up some slack, following the curve of the hip in to the waist. The end result:
STEP 9: Remember those V-shaped darts you marked earlier? Pinch the top of your skirt in the middle of the V – these will become the darts that nip the skirt in at the waist. I like to mark the widest parts of the V with pins so that I can match them easily, then pinch to fit. Here are my two pins:
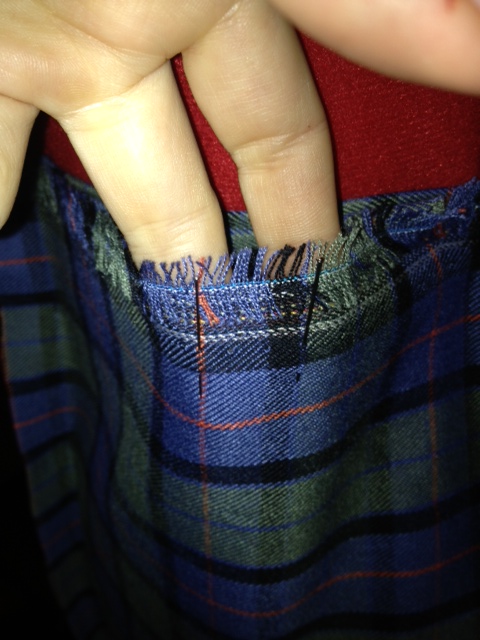
Now I pinch them so that the pins meet and pin the skirt fabric to form the dart:

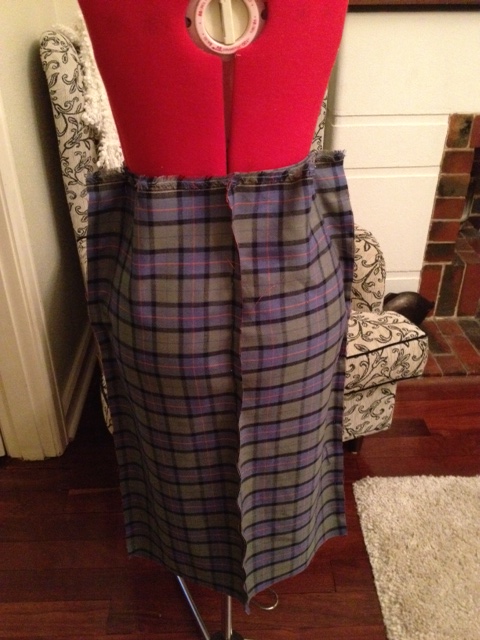
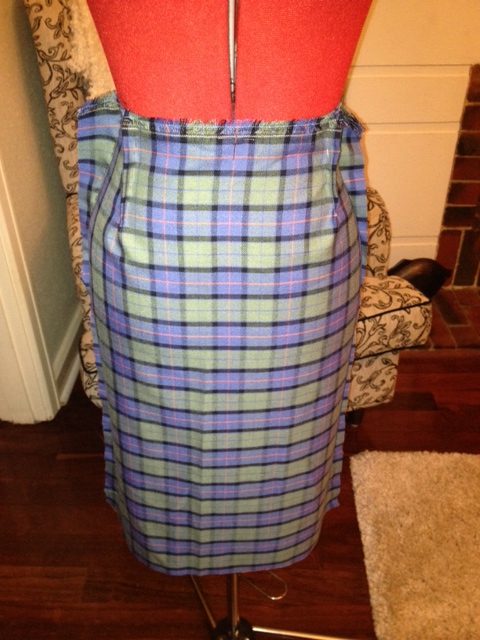
Repeat for all 4 darts, front and back, and make sure you like the way it all looks and hangs. It should be smooth and without obvious wrinkles, and the grain of your fabric should be vertical (*Now my use of plaid makes sense, hey? Hopefully you can see that everything is smooth and the pattern is straight up and down.*). Fiddle with the side and back seams if you need to, make sure you’re happy with them. Once all of your darts are pinned it should look like this:
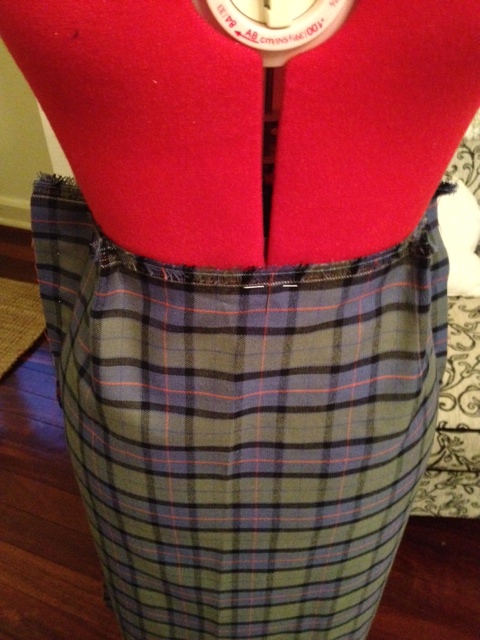
STEP 10: Finish the darts by pinching and pinning them down the fabric so the slack is taken up. The end result should be smooth and all of the darts should be a consistent length – measure them if you’re not sure.
YOU’RE DONE! Once you are satisfied, mark all of your darts and seams with chalk and then you can unpin it from the mannequin. Trim all the seam allowances to ½” along the waist where you took the side and back seams in. Keep it safe in a bag (where the chalk won’t rub off against other fabric) until you’re ready to use it.

Thanks so much for bearing with me through my first tutorial. I would love to answer any questions you have, and would be even more glad of any feedback you’re willing to provide. Too long? Too much detail? Not enough detail? ALL THE FEEDBACKS. Please do let me know if there is anything that you’ve been wanting to make and I’ll see if I can work it into future tutorials. I love challenges! At this stage future tutorials are likely to include baby crafts for my partner’s sister and also the construction of this plaid skirt suit, and I’ll be posting about the construction of my teal silk godmother-dress.
Thank you again for taking the time to read!
♥ R

This is great! Thanks.
I have suddenly turned a corner in my dress making…. And it’s all in the measuring! Taken me a while to realise!
I love this skirt and I really get it with the darts now too!
Thanks.
I may need your help with the Coat Off! I have just ordered a Burda Retro Pattern.. 7041 .
Hi there!
I just looked up your pattern, Burda 7041, and I think it’s really sweet! If there’s any way I can be of help please let me know.
And yes, it really is all in the measurements. Beware, though, once you wear a beautifully-fitted piece of clothing you’ll never go back! 😛
Thanks so much for reading x